Friday 30 August 2013

Nelly Polish: Polperro review

Polperro-A gorgeous orange sparkly glitterbomb? yes please!


Today I have to show you another gorgeous polish from new UK indie brand Nelly polish.


How cute is the little wibbly jelly logo?! 


Polperro is a coral/orange jelly, with gold, holo and copper glitters of varying size.

I have to be 100% honest with you and say that I loved this polish in the bottle. It just didn't seem to suit my skintone (my hands do not look that colour!) and it was a little on the sheer side. I think in hindsight I really should have used some orange or white undies with this polish. I'm not giving up, so expect to see another post on polperro soon! I love it from other peoples swatches, that I've seen, and I'm determined that it will work for me!! 

I really love Polperro it's so pretty and hopefully my swatches over undies will show this…love the concept of these polishes and both colours are stunning. However my favourite is definitely Mena, I love how it leans between being black and purple and is full of gorgeous glitters. I just wish I could have done Polperro justice with my swatches as it is really lovely!


Polperro: take two!


This time I decided to use a peachy orange polish as a base. I chose Nails inc wellington square, the picture below shows 2 coats.

(as you can see from the nails inc polish, oranges are not very flattering on me!)


low indoor lighting


Below shows one coat of polperro layered over wellington square.


 And below is with two coats of Polperro.


 Hopefully you can see the difference a base colour has made-I love it!! It is the perfect summer shade! (although orange wouldn't be my first choice, it suits me a lot more than the pictures show!) I am so pleased that I got this beauty to work for me and I am keeping this with the satin matte finish for the time being as I really like it and for a polish with glitter in, it is so smooth!

Read my earlier review on Mena and Nelly polish HERE!!

Have you tried Nelly polish yet?? 

thanks for reading, come back soon! 
xoxo


Wednesday 28 August 2013

Polish haul & nails inc stash pic!

Part 1: July/August polish haul & Nail Inc stash pics!


Polishes I purchased towards the end of July and start of august:  


from L-R, Top row: OPI-Simmer and shimmer, smittens: look to the western sky, glass elevator and nerds redux and essence-(can't remember the name) pink holo polish.

2nd row: Enchanteds: Dijinn, electric feel, ice castle and hello newyork and Lynnderella-Love, lace and lilacs.

3rd row: cadillacquer-cute poison, above the curve-Cecilia, Fresh paint-dragon lady, funky fingers-mermaid lagoon, literary lacquers-lake of shining waters, sally hansens-gentle blossom and fire opal.

4th row: Dollish polish-As you wish, Glitter bunny polish: Rainbows on crack and I got a goodie bag, Nail Nation 3000 butterfly net and sea lore polishes: Leaping lyretail and springing seahorse.


Other polish purchases:


 Nails inc: 22:07:13 - which I used in my Cath Kidston Mani-HERE!!


Sally Hansen nail prisms in blush diamond and pink rose diamond. (These are super holographic-yay!)


Nerd Lacquer-Nebula and Lynnderella-Common sense (the latter, of which, I could definitely use a little more of!)
My first Nerd-I really don't need to get addicted to another polish brand that is impossible to buy! (I did buy it with the intention of swapping for an EP...but I really love the look of it-only time, and a little swatch, will tell!)

And finally my first picture of this type..A glimpse at a little section of my stash-My Nails inc polish collection: (excluding-base/topcoats and treatments etc) I'm embarrassed to admit that this isn't even half a drawer in my helmer and I have way more OPIs than Nails Incs! 

I might do a complete stash/collection picture (probably pictures!) at some point. As I love seeing pictures of other peoples collections!


Please do, feel free, to share any of your stash piccies or links to a blog post beneath!

Thanks for reading, come back soon!
xoxo

Tuesday 27 August 2013

My 21st Birthday Mani!


What did I choose to wear for my 21st birthday??

A beauty from Chanel of course! 

Chanel Taboo:

This was a gorgeous polish that applied evenly and was opaque in two coats.  It's described as a shimmering dark blue/violet. However it has so much more going for it! I would describe it as a blackened purple base full of intense blue and red sparkly shimmer. Although I had a hard time getting my camera to pick it up, the shimmer is clearly visible under all lighting conditions and it always shows as purple-toned rather than just black.


low indoor lighting


in indirect sunlight


indoors with flash

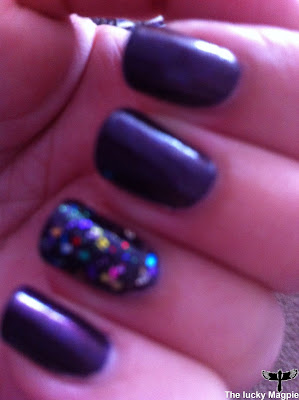
I then added a little bit of sparkle to my ring fingers! A gorgeous Lynnderella polish that I have been saving for a special occasion-The Glittering Crowd.  I then topped this glitter bomb off with a generous coat of gelous. Below is only one coat of TGC, no fiddly glitter fishing or placement required. It was smooth and even in a single stroke!


indoor lighting


low indoor lighting


low indoor lighting


low indoor lighting


with flash


indoors in indirect sunlight


Finally a pic in front of my 21st Birthday cake-there had to be a butterfly as they are very special to me.

indoors

And just one more! This time the cake, in all it's  glory! It was exactly as I hoped it would be and more! It was incredible and definitely had the WOW factor! It was made by Tiers of Happiness, which I would highly recommend! See their website HERE! 
The mask was the inspiration for the cake and was ordered from Venice.


What are your go-to party nails?? 

thanks for reading, come back soon!! 
xoxo

Thursday 22 August 2013

Review of Nelly polishes: Mena.

Today I'm going to show a gorgeous polish from, new UK indie brand, Nelly polish, that I was very lucky to be sent to review.

Nelly polish is 3-free and revolutionary, for the simple fact that you can purchase it in dried form. (A very clever way of getting around all of the new postage restrictions!) You can purchase it ready made, in dried sachet form or dried in a bottle. It comes with all the ingredients so all you have to do is add topcoat and shake-it really is that simple! You can purchase nelly polish from either: their website-HERE, ebay-HERE or Etsy-HERE

The polishes that I was sent, were from the first collection-Fungooms. 

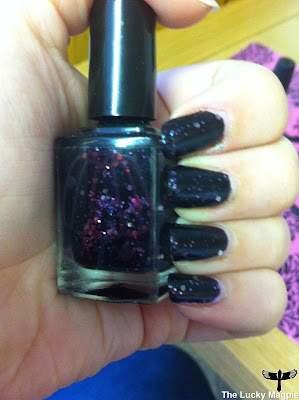
Mena is a gorgeous black jelly polish with lavender, holographic and copper/rose glitter. It has that gorgeous squishiness that comes with jelly polishes and the different sized glitters give it real depth. It applied smoothly in two even coats and the glitter spread evenly across the nail-no tricky glitter fishing required!


the polishes in dried form, already in the bottle and with easy step by step instructions.


Add topcoat a bit at a time and shake.


 the finished result!


with flash!


without flash.


It is such a gorgeous polish, really dark and vampy. I can tell I will be wearing this a lot in the winter months! Another remarkable thing about nelly polish, is the drying time is so quick! They dry to a satin-matte finish, so topcoat is a must for a shiny finish. I added one coat of gelous, for shine-it was smooth to touch pre-topcoat!

Review of Polperro to follow.


I love seeing all of these new UK indie brands popping up! It's even inspired me to have a dabble into the world of polish making! 

Have you tried any UK indie brands yet? 

thanks for reading, come back soon! 
xoxo

Monday 19 August 2013

Nails inc review and simple Cath Kidston inspired nail art, with instructions.


Nails Inc Limited Edition nail polish - 22.07.13 and Cath kidston inspired nail art.


I've been looking for a baby blue creme nail polish for ages and seeing as I bought nails inc jubilee, I thought I would splurge on their latest ltd for the Birth of the new baby Prince. Named after his date of birth-22.07.13-my second crystal cap!!

As to be expected with Nails inc cremes, the application was perfect. The first coat was a tiny bit streaky, due to the polish having a lot of white pigment in it; however the second coat evened it all out nicely.


I then decided to have my first go at roses nail art. I chose a Cath kidston design. I used the thinnest brush and dotting tool from the set below, which can be purchased from Topshop.


Colours used: Nais inc: 22.07.13 and peach sorbet and hello kitty in meltdown and a kiss nail art pen in lime green. I also used Gelous topcoat to seal the design.


It's far from perfect but for a first attempt and rather shaky hands I'm quite pleased with it!
 d


I started by putting a few drops of peach sorbet on a piece of tin foil; then using the dotting tool I did three random scruffy circles (the base for the roses.) then using the small brush i dipped it into the melt down and drew a squiggle, similar to an e shape and then opposite I drew a short curved line. then I added some short, spiky green leaves coming from the roses. It's really that simple, you don't have to be a great artist and if it all goes horribly wrong you can call it abstract! 


with flash. (sorry for the bad quality but it captured the colour well!)


 I really love the cute little roses, which is strange as I'm really not keen on Cath Kidston, but on my nails it has somehow won me round!
Have you tried anything like this on your nails?

thanks for reading, come back soon! 
xoxo

Monday 12 August 2013

Picture Polish, Tease and Essence nail art peel off base coat review.


Today I have a gorgeous pink, sparkly glitter bomb from Picture Polish to show you.


Today I'm going to show you an alternative, to all the hassle of removing glitter nail polish; without all the fiddliness of the tin foil method,waiting decades for it to soak off or scrubbing like a lunatic! What is this miracle antidote, i hear you ask? It's from the brand Essence available HERE, and it's a peel off nail polish base coat. I have tried it both with nail envy underneath and straight onto the nail. (i would say nail envy doesn't make too much of a difference and it also offers some protection to the nail.) 


It goes on bright white like pva glue and it's important to use a generous coat and prep nails beforehand with a swipe of nail polish remover. It takes a while to dry-(I left it a good 20 minutes, it was amost dry after 15) you will know it's dry as it will become transparent. then you can paint you glitter straight on top.


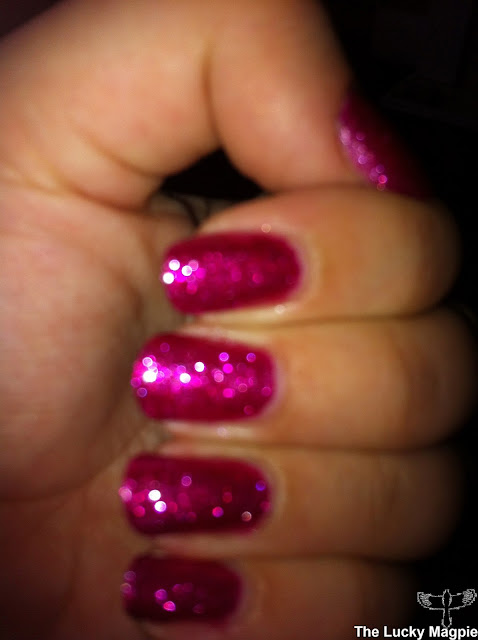
For my glitter I chose a new-to-me brand called Picture Polish. The colour is Tease and was a complete ebay impulse buy. I am so happy with it! It is fully opaque in two coats and needs no undies. It's a gorgeous hot fuchsia pink with silver glitter. As with all glitters it needs a generous helping of topcoat to smooth it out and make it shiny. I chose gelous, which worked a treat.


with flash

with flash


with flash
 As for wear, it lasted quite well! More tip wear than usual and small chips appeared after 3 days. The below picture is after 5 days wear.


Hmm..as you can see, it doesn't quite come off in one piece as it is supposed to. I would rather spend 20 minutes peeling it all off then soaking my fingers to prunes! 


However, after peeling it all off (gently) my nails were a bit of a wreck. They were all dry and peeling! Thank god for OPI Nail envy and Avoplex!


So all in all it's not quite the miracle solution to glitter nail polish that we were all hoping for! However, it did seem to take less time than soaking and also it came off a lot easier in the twisty nail polish remover pot with the peel of base underneath. I'm going to persevere with this method and hopefully some other miracle removal method will appear soon! 

Have you tried any peel of base coats? Any better ones? 

thanks for reading and come back soon! 
xoxo